


Are you ready to elevate your Genshin Impact team with the adorable yet powerful Sayu? Whether you're looking to optimize her healing prowess or unleash her potential as a damage dealer, understanding the nuances of the Genshin Impact Sayu build is essential. This guide provides an in-depth exploration of how to make Sayu shine in various roles, unlock her hidden synergy, and create a well-rounded team strategy that maximizes her strengths.
Sayu in Genshin Impact: A Comprehensive Build Guide
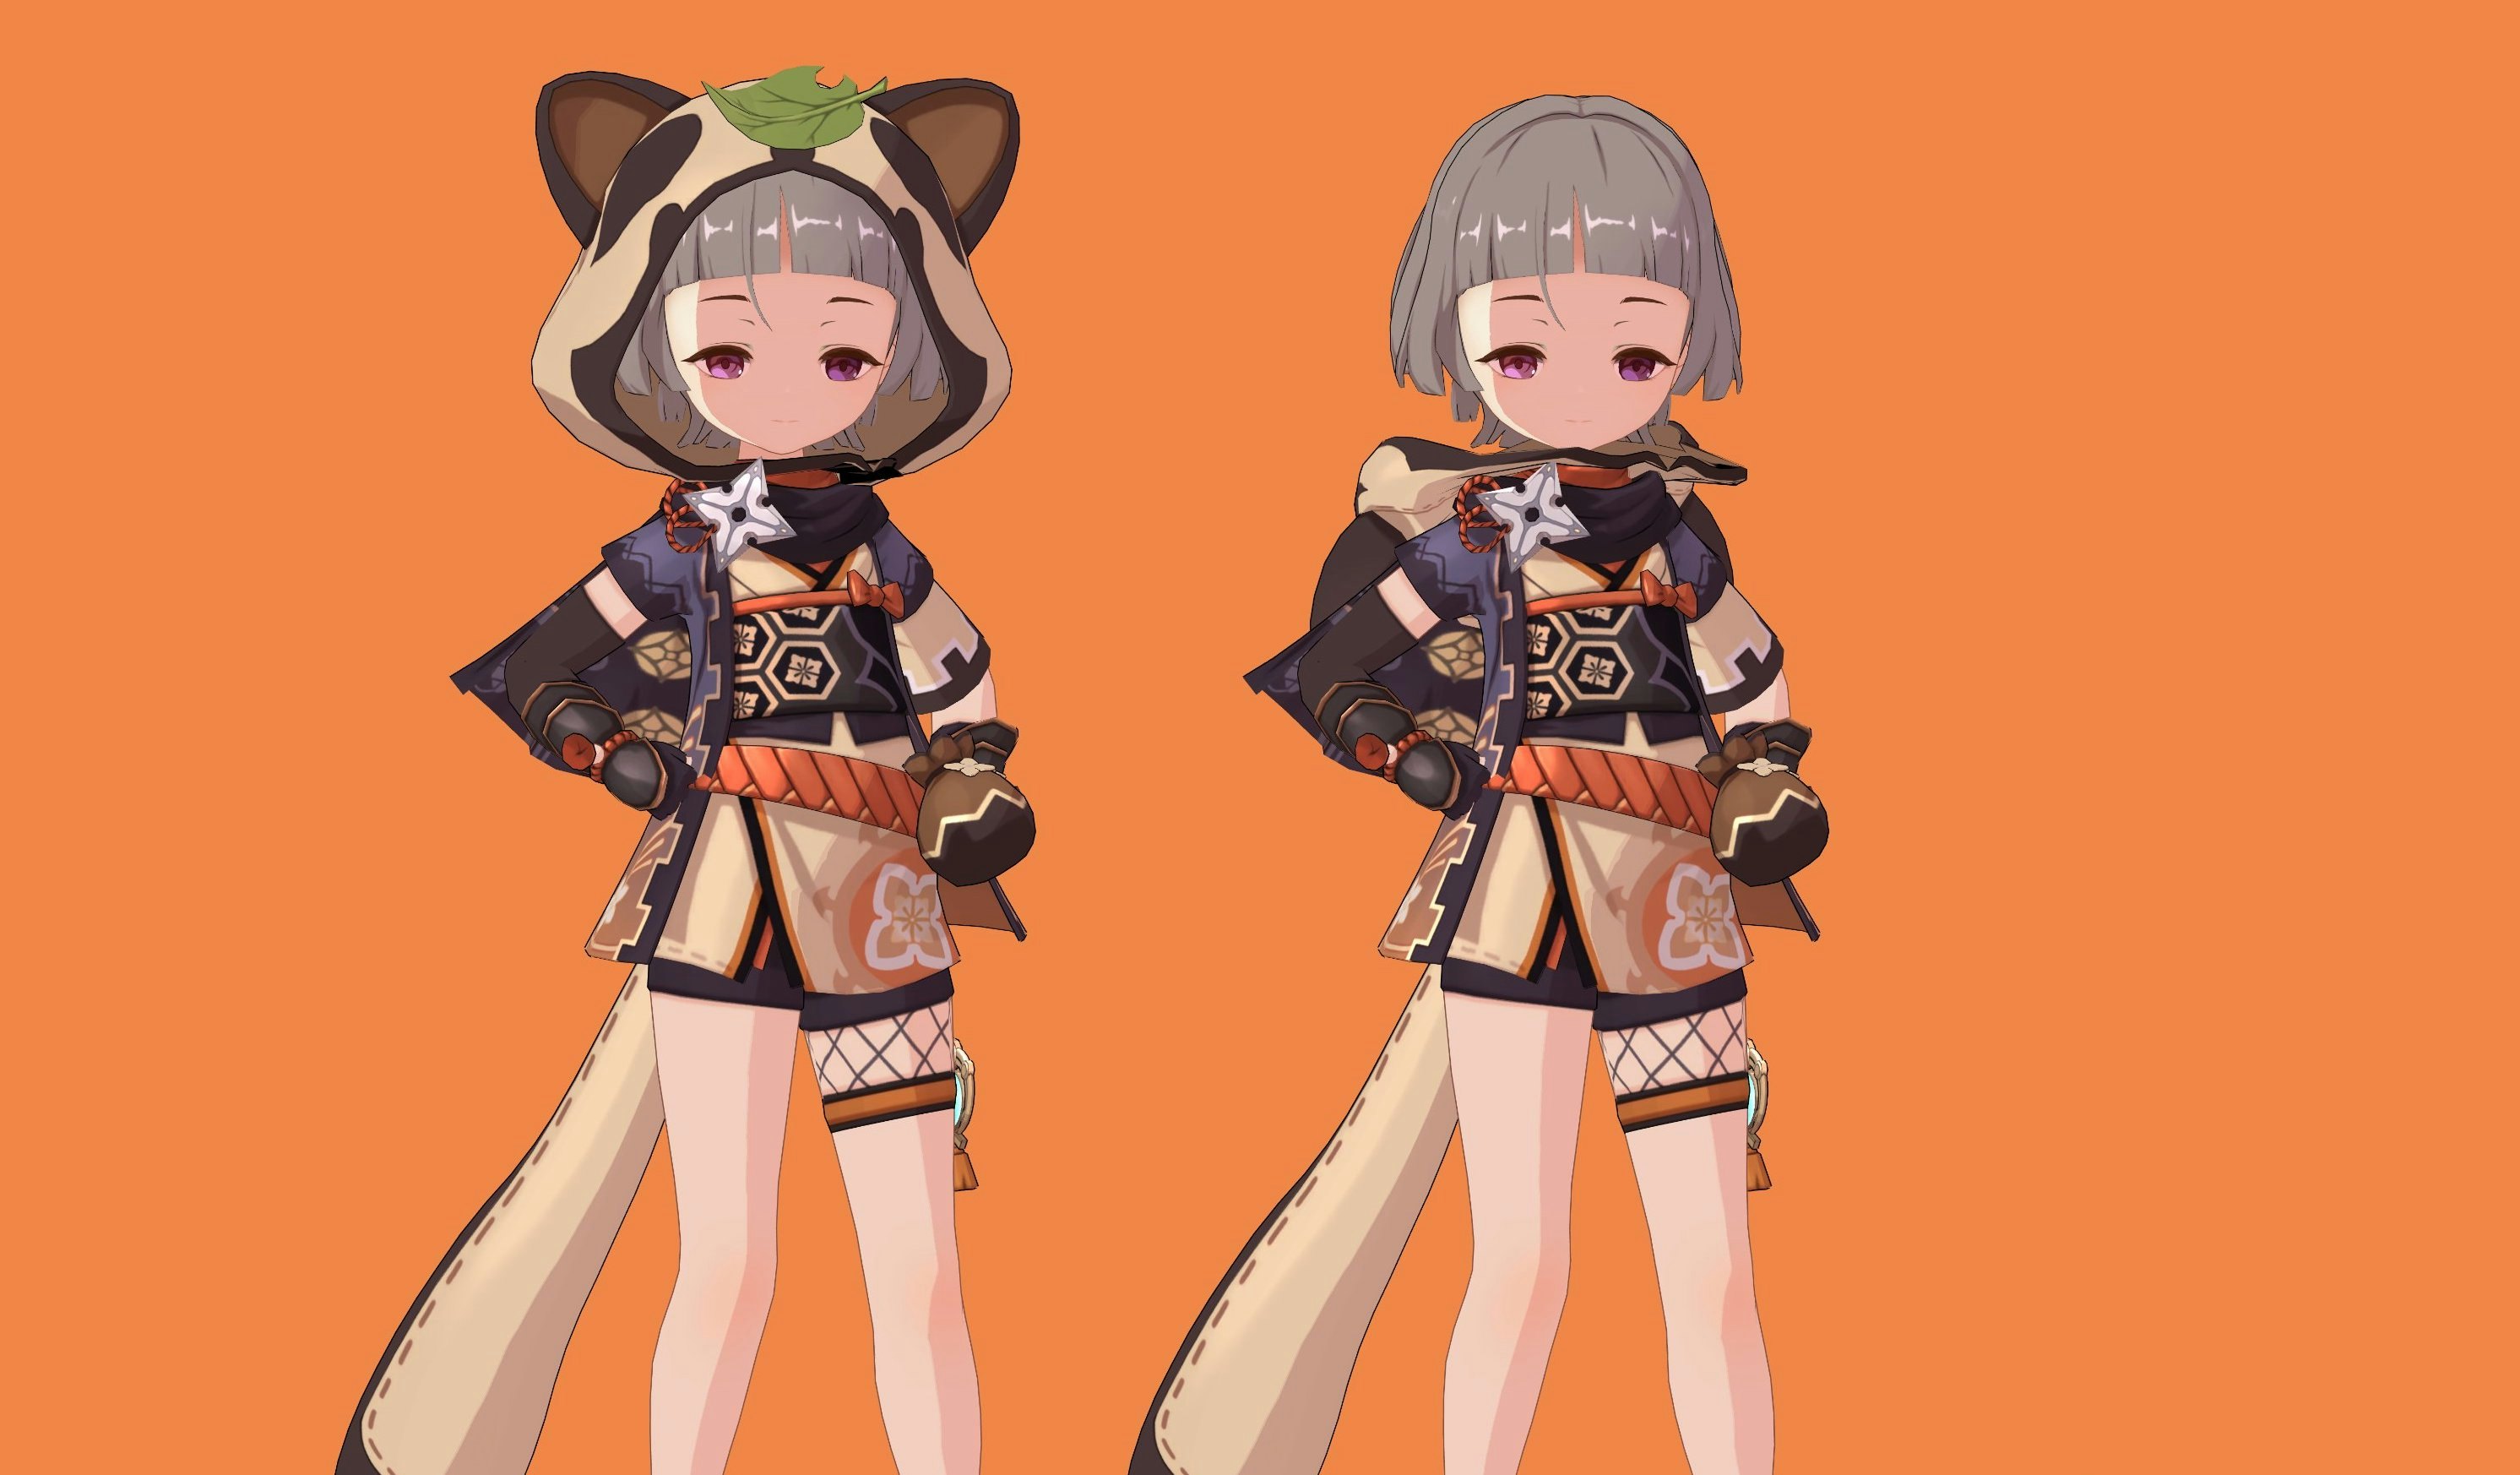
Sayu, the ninja Malscroll, is a flexible support character with unique capabilities that can adapt to multiple roles. Her playstyle revolves around swift healing, swift Swirl reactions, and versatile positioning, making her a valuable asset across many team compositions. Building Sayu correctly requires understanding her talents, suitable artifacts, weapons, and team strategies.
In this section, we delve into the core aspects of Sayu’s kit and how to tailor her gear and talents for different roles. Whether you want her to be a dedicated healer, a swirling damage dealer, or a hybrid support, mastering her build is key to unlocking her full potential.
Sayu’s Role in Genshin Impact: Support, Heal, or Damage Dealer?
Sayu's multi-functional toolkit allows her to serve as a healer, an Anemo application source, or even a damage dealer, depending on your team needs. The decision rests on your play style and the composition you pursue, so crafting a flexible build is paramount to maximize her effectiveness.
Her elemental skill, Yuuyuu Mountain, grants healing and provides inward comfort during combat, while her Swirling capabilities can amplify elemental reactions. The versatility in her roles means players can adapt her build dynamically—either focusing on potent healing, powerful elemental reactions, or damage output, making her arguably one of the most adaptable units in the game.
Key Factors Influencing Sayu’s Build Strategy
Developing a compelling Sayu build requires understanding the balance between her healing abilities, Anemo application, and damage potential. Factors such as artifacts, weapon choices, and talent levels play crucial roles in shaping her effectiveness.
Understanding her talents’ prioritization, relevant team synergies, and optimal gear setups allows you to craft a tailored strategy that aligns with desired roles. Whether enhancing her healing throughput or maximizing Swirl reactions, the right build enables Sayu to shine across various scenarios.
Unlocking Sayu’s Potential: Optimizing Your Build Strategy

To unlock Sayu’s full potential, players must develop a nuanced understanding of her strengths and how to optimize her gear for different roles. A well-thought-out build can transform her from a simple support into a formidable figure on the battlefield.
In this section, we focus on strategic considerations such as talent prioritization, artifact choices, and how to adapt her build for different team contexts. The goal is to harness her flexibility and turn her into a cornerstone of your team composition.
Strategic Talent Prioritization for Sayu
Maximizing Sayu’s toolkit hinges on effective talent leveling. The priority typically depends on whether she functions primarily as a healer/support or as a damage dealer. For support roles, leveling her Elemental Skill ("Yuun Yuu Mountain") enhances healing and healing frequency, which is crucial during sustained fights.
If you're building her as a damage or Swirl catalyst, her Elemental Burst ("Yoohoo Art: Mujina Flurry") becomes critical. Prioritizing its talent level reduces energy requirements and enhances viral Swirl reactions. Tailoring talent upgrades based on your intended playstyle ensures she performs efficiently in different combat scenarios.
Aligning Build Strategy with Team Composition
The choice of whether to focus on healing or damage output influences artifact and weapon selection. For example, a healing-oriented Sayu benefits most from artifacts that boost HP and healing effectiveness, while a Swirl-focused Sayu prioritizes elemental mastery and Swirl damage boosts.
Additionally, considering your team's elemental composition and bosses you face influences your character setup. Synergy with characters like Kazuha or Venti can amplify Swirl reactions, while support-heavy teams benefit from artifact sets enhancing healing and survivability.
Sayu Build: Artifact Sets for Maximum Effectiveness
Artifacts are the cornerstone of customizing and elevating Sayu’s performance. Choosing the right set can dramatically influence her healing throughput, Swirl damage, or overall utility, depending on the build path.
In this section, we examine the most effective set combinations for different roles, providing insights into optimal artifact prioritization, sub-stats, and the strategic rationale behind each combo.
Best Artifact Sets for Sayu as a Support and Healer
The most recommended artifact set for a healing-focused Sayu is Ocean-Hued Clam. This set boosts healing effects, grants additional healing based on max HP, and increases shield strength—perfect for a dedicated healer.
The Ocean-Hued Clam set also synergizes well with her natural HP scaling and enhances her survivability and support capabilities. The secondary stats, such as HP%, Healing Bonus%, and Elemental Mastery, should be prioritized to optimize her utility as a healer turning her into a mobile sanctuary for her team.
Artifact Sets for Sayu as a Swirl Damage Dealer
For a damage-oriented build focusing on Swirl reactions, Viridescent Venerer is the go-to set. This set increases Anemo damage by 15% and reduces opponent’s resistance to the element affected by Swirl, significantly amplifying her reaction-based damage.
Additional sub-stats like Elemental Mastery, Crit Rate, or Crit Damage are equally important depending on whether you want more reaction damage or consistent damage output. Combining this set with a sub-dominant focus on HP or Healing Bonus can create a balanced damage dealer that also retains decent survivability.
Best Weapons for Sayu: Enhancing Her Anemo and Healing Capabilities
Weapon selection can make or break Sayu’s potential. Choosing the right weapon depends heavily on the role she fills, be it healing or Swirl damage enhancements.
This section discusses the best weapons to optimize her healing, Anemo reactions, and overall performance, along with considerations for free-to-play options and signature weapons.
Top Weapons for Sayu as a Support and Healer
Sacrificial Sword is one of the best picks due to its ability to reset cooldowns of her elemental skill. This allows for more frequent healing or Swirl applications, boosting her support utility.
Another viable option is Prototype Raiden for players looking for an accessible yet effective weapon, boosting energy recharge and elemental burst damage. These weapons enhance her ability to sustain her team and facilitate more frequent Swirl reactions, increasing overall support value.
Best Weapons for Sayu as a Swirl Damage Dealer
To maximize Swirl reactions, Amenoma Kageuchi is an exceptional choice — it provides Energy Recharge, allowing her to use her Elemental Burst more frequently, and its passive boosts Elemental Mastery after casting another elemental skill.
For players who wish to maximize damage output, The Stringless is highly recommended, increasing Elemental Skill and Burst damage, which synergizes well with her role as a Swirl catalyst. When paired with artifact sets emphasizing Elemental Mastery and Crit stats, this weapon can turn Sayu into a potent elemental reaction catalyst.
Genshin Impact Sayu: Talent Prioritization for Optimal Performance
Efficient talent leveling is essential to harness Sayu’s full potential. Whether she is a healer, support, or damage dealer, focusing on the right talents amplifies her effectiveness in combat.
In this segment, we examine talent prioritization strategies, including the rationale behind upgrading specific talents and how they influence gameplay mechanics.
Prioritizing Sayu’s Talents for Healing and Support Roles
For a healing support build, upgrading her elemental skill "Yuun Yuu Mountain" first is critical because it enhances healing magnitude and frequency, which is vital during prolonged encounters or against difficult bosses.
Her elemental burst, "Yoohoo Art: Mujina Flurry," should be leveled second if she is also contributing to Swirl reactions, as its damage and energy efficiency benefits greatly from higher talent levels.
Talent Progression for Damage Dealer Roles
If aiming for a Swirl or damage booster build, prioritize her Burst to facilitate frequent reactions, especially since it allows her to consistently apply Anemo and trigger Swirl reactions. Her elemental skill can be leveled later as it provides healing and mobility, which, while useful, is secondary to her reaction capabilities in this role.
Balancing talent progression based on your actual team setup and playstyle ensures Sayu remains versatile and efficient, whether she supports or deals damage.
Sayu Support Build: Healing and Anemo Application Focus
A dedicated support build leverages Sayu’s natural healing, mobility, and Anemo application to create a resilient team. Such a build emphasizes survivability, frequent healing, and elemental reaction setup.
We analyze how to optimize her gear, talents, and team synergies to maximize her support capabilities, providing a clear roadmap for aspiring support-configured Sayu.
Maximizing Sayu’s Healing Power as a Support
Focusing on artifact sets like Ocean-Hued Clam or Narzimm’s Bloom (if available) boosts her healing output significantly. Prioritizing HP% and Healing Bonus% sub-stats will maximize her sustainable healing during long fights.
Her talents should be leveled with a focus on her skill for frequent healing, along with her burst for reaction support. The goal is to keep her alive and provide supports’ essential healing without sacrificing her ability to trigger Swirl reactions.
Enhancing Anemo Application for Crowd Control
Sayu’s role as an Anemo applicator is critical for controlling mobs and amplifying elemental reactions. Artifact sets like Virdescent Venerer help double down on her Swirl potential, making her a potent catalyst for reaction-based damage.
Supporting this with weapons like Amenoma Kageuchi or The Stringless maximizes her elemental mastery and energy recharge, leading to more frequent Swirls and better team control.
Sayu DPS Build: Maximizing Swirl Reactions and Damage Output
A DPS-focused Sayu, though unconventional, can be surprisingly effective when built properly. This setup emphasizes her role as a Swirl trigger, amplifying elemental reactions to deal massive damage.
In this section, we explore how to optimize her gear and talents to handle this hybrid role, combining her natural support qualities with substantial damage capabilities.
Building Sayu for Swirl-Based Damage Output
A Swirl DPS build benefits from the Viridescent Venerer artifact set, which reduces resistance and enhances Swirl damage. Sub-stats like Elemental Mastery, Crit Rate, and Crit Damage should be prioritized to maximize her reaction damage.
Stacking HP can be secondary, as it adds to her healing, but the primary goal is to produce consistent Swirl-triggered damage, turning Sayu into a threat rather than just a support.
Balancing Damage and Support Potentials
While her primary role can be healing or support, a Swirl DPS build can turn her into a damage dealer for specific encounters. Combining her talents, weapons, and artifacts can create a hybrid that offers both healing and burst damage, providing flexibility in combat scenarios and making her a versatile team member.
Team Compositions for Sayu: Synergies and Strategies
Sayu’s flexible kit allows her to synergize well with various characters, boosting her effectiveness across different team compositions. Understanding her role within a team setup is essential to maximize her utility.
This section emphasizes team synergy strategies, including ideal teammates, complementary reactions, and positioning tactics to optimize her performance.
Optimal Team Synergies with Sayu Support and Healer Builds
Supports like Kazuha, Venti, or Sucrose greatly amplify Sayu’s Swirl reactions, increasing overall team damage output. Her healing complements characters like Bennett or Kokomi, creating a durable frontline capable of sustained engagement.
Positioning is vital—placing Sayu strategically helps her trigger Swirls on clustered enemies or provide timely healing. Combining her with characters who can set up elemental reactions ensures your team remains at peak efficiency.
Strategies to Maximize Sayu as a Damage Dealer in a Team
When functioning as a damage-focused Swirl catalyst, pairing Sayu with characters like Fischl or Xiangling adds elemental diversity, enhancing reaction damage. Building teams around her reaction strengths allows her to dominate a boss or mob fight through amplified elemental reactions.
Alternately, integrating her into a burst DPS lineup with characters like Eula or Hu Tao can leverage her Swirl capability to weaken enemies’ resistances, improving overall damage output across your team. Ensuring proper rotation and positioning is essential for her to contribute effectively.
Sayu Build Comparisons: Analyzing Different Gear Setups
With multiple viable build paths, understanding the trade-offs between artifact sets, weapons, and talents helps you craft a tailored strategy. This comparison allows you to choose the best setup based on your playstyle and available resources.
In this section, we analyze how different gear configurations influence her role, performance, and overall value in your roster.
Support and Healing Vs. Swirl Damage Setups
Support and healing builds—centered around Ocean-Hued Clam—maximize her sustainability and team durability but may sacrifice some reaction damage potential. Conversely, Swirl-centric builds with Viridescent Venerer boost her elemental reaction damage but might lower her overall healing efficacy.
The choice revolves around your team’s needs—whether prioritizing survivability or dealing burst elemental reactions. Hybrid setups combining elements of both artifact sets can be viable but require balanced stat distribution for versatility.
Weapon and Talent Variances Impacting Performance
Weapon choices dramatically influence her output—support setups benefit from weapons like Sacrificial Sword or Prototype Raiden, emphasizing energy recharge and support utility. For damage roles, The Stringless and Amenoma Kageuchi excel due to their elemental and reaction amplification.
Talent levels shape her capabilities—support builds emphasize her skill for healing; damage builds focus on her burst and elemental mastery. Strategic talent upgrades ensure you get the most out of her chosen gear and gameplay style.
Genshin Impact: Advanced Tips and Tricks for Mastering Sayu’s Build
Achieving mastery with Sayu transcends basic optimization; it involves strategic gameplay, positioning, and nuanced understanding of her kit to maximize her potential. Advanced players leverage subtle mechanics and creative team synergies to outshine others.
This section offers expert tips on fine-tuning her build, optimizing rotations, and exploiting her strengths for incredible results.
Artful Positioning and Timing for Maximum Effectiveness
Sayu’s mobility and healing capabilities allow rapid repositioning in combat. Mastering her movement ensures she can heal allies while avoiding damage or applying Swirl reactions to clustered enemies.
Timing her elemental skill and burst is crucial—using her skill to heal immediately after a hit, then leveraging her burst to induce Swirls at the right moment amplifies damage and healing simultaneously. Positioning close to clustered enemies for Swirl reactions maximizes efficiency.
Leveraging Game Mechanics to Elevate Sayu’s Role
Utilize characters that can set up elemental fields or reactions, such as Kazuha or Venti, to maximize her Swirl reactions. Combining her with characters who provide shields enhances her survivability, enabling more aggressive repositioning.
Advanced players also exploit the "clutch healing" scenario—saving her burst for critical moments where allies are low, turning her into a clutch support unit. Experimenting with team rotations and switching strategies can unlock her full potential across different content types.
Conclusion
The Genshin Impact Sayu build offers remarkable versatility, whether as a dedicated healer, a Swirl-based damage dealer, or a hybrid of both. Strategic talent leveling, artifact farming, weapon optimization, and smart team synergy combine to unlock her full potential. Her ability to heal, apply Anemo, and provoke elemental reactions makes her a dynamic asset capable of adapting to many team compositions and challenges. With careful planning and tactical gameplay, Sayu can elevate your team’s performance and provide both resilience and burst damage when needed, proving her as an indispensable hero in the expansive world of Teyvat.


